NewChallengerStore.com
CHALLENGER
Stainless Brushed Taillight Inserts
For Part: #ACC-152006
&
ACC-152021
INSTALLATION
INSTRUCTIONS
PARTS INCLUDED: 3 x Brushed or Black Taillight Inserts, 1 x Adhesive Promoter Pack
Your new inserts come to you with a protective liner. DO NOT remove the liner until installation is complete.
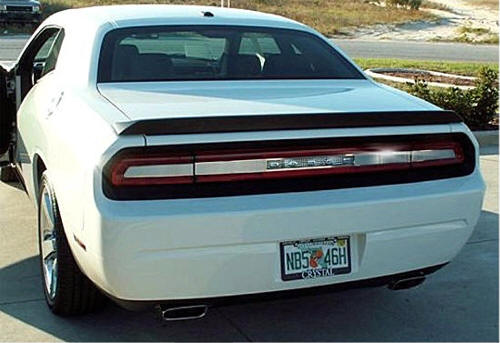
This three piece kit has been designed to enhance and upgrade the factory taillight area.
Constructed of 304 stainless this kit will look beautiful for years and years without ever dulling or rusting. This is a simple to install kit that will transform your Challenger taillight into a nice custom looking tail end.
1.
Thoroughly clean the taillight areas to be mounted with
rubbing alcohol to remove any and all dirt and or waxes.
After this
step use the piece of test tape (included) or a piece of masking tape to see if you have achieved a
tack. If the test tape sticks well in several areas where you plan
to mount your new trim then proceed to the next step. If it is
not sticking well you still have oil on the surface clean again
until it the test tape sticks.
2. Now take the promoter
packet or pen (included) and swipe the areas where you will mount
your new trim. The promoter liquid is clear and will not harm
your paint or interior.
3. Before you permanently attach anything practice placing each section in position and make note of their correct placement. Make sure that the factory taillight deck lid section lines up properly with the quarter panel taillight sections. This may require you to adjust the deck lid stops just under the deck lid so that the three areas line up to each other perfectly. This step will insure that the new kit will line up properly and offer the best look.
4.
Starting with the larger center section peel the red
release liner from the back of the part and then carefully place
into the correct position and then press firmly to set.
NOTE: Be sure that this section
is right side up. If you look closely at this section you will
notice that there is a perfectly straight edge. This is the bottom
edge and the top edge has a slight arch to it as does the factory
taillight.
5.
Now that you have correctly placed the center section,
the sides are relatively easy. Just make sure they ends that meet
the center section line up properly as you stick these two remaining
parts into position again press firmly to set. The idea is to make
sure the three trim pieces are lined up all the way across.
Now remove the outer clear protective liner.
DO NOT GET WET FOR 24 HOURS
 OR
OR

For Help - please call 352 688 8160 or email
us at admin@NewChallengerStore.com